
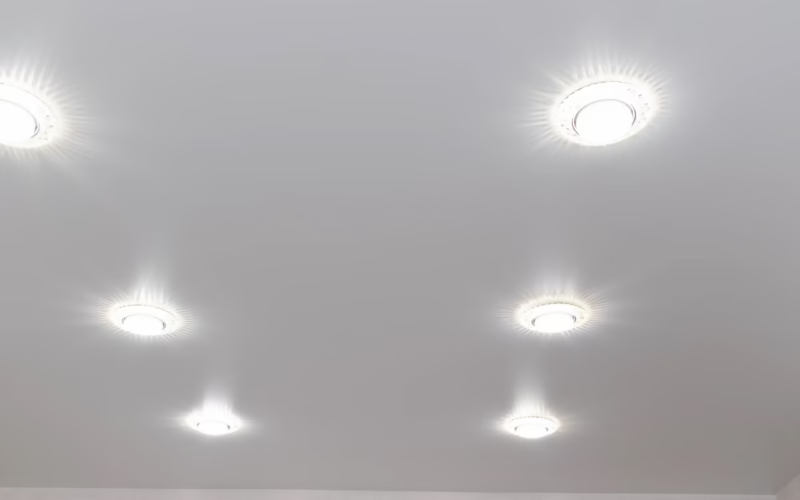
A recessed wafer light is roughly three-quarters of an inch thick, which means a full room of recessed lighting installation no longer requires cutting space for bulky housings above the drywall. That single change is why so many homeowners who were told recessed cans were impossible in their 1940s Cape Cod are now getting quotes for them. At GB Electric, we see firsthand how this fixture style expands possibilities for low-clearance ceilings. The catch is that wafer lights have their own rules, and ignoring them leads to flicker, buzzing, and fixtures that die years early. Here is what actually matters before you commit to a ceiling full of them.
How a Wafer Light Differs From a Traditional Can
A traditional recessed fixture needs a metal housing roughly 5 to 7 inches deep sitting above the drywall, plus clearance from insulation unless it carries an IC rating. A wafer light, sometimes called a canless or slim downlight, puts the LED board inside a thin disc and relocates the driver into a small junction box that rides alongside it in the ceiling cavity.
The practical consequences are worth knowing:
- Shallow cavities become usable. Wafers fit in 2×4 framing, between floor joists, and under HVAC ducts where a can never would.
- The junction box is integrated. Most listed wafer kits include a small box with cable clamps, so you are not fishing a separate box into place.
- No bulb replacement. The LED array is sealed, with rated lives commonly between 35,000 and 50,000 hours.
- Lower profile, lower heat. Typical draw runs 9 to 15 watts for output equal to an old 65-watt BR30.
Rooms Where Wafers Earn Their Keep, and Rooms Where They Don’t
Wafers shine in kitchens, hallways, finished basements with low headroom, bathrooms (wet-rated versions), and second-floor rooms with knee walls. In a basement ceiling with 7 feet of clearance, the half-inch protrusion of a wafer trim is the difference between a finished look and a fixture you walk into.
They are a weaker choice in a few situations. Rooms with 12-foot or vaulted ceilings often need the tighter beam control and adjustable gimbals that deeper housings provide. Spaces where you want dramatic art lighting or deep wall washing usually call for an aimable fixture, since most wafers throw a fixed 100 to 120 degree spread. And in a great room where the ceiling is the visual focus, a few well-placed pendants or a single decorative light fixture may do more than a grid of flat discs. Homeowners planning outdoor lighting in Allentown for covered porches or exterior soffits also opt for wet-rated wafer units to maintain clean overhead lines without bulky fixtures.
Planning the Layout Before Anyone Cuts Drywall
Most bad recessed jobs are layout failures, not wiring failures. A reasonable starting rule for general ambient light on an 8-foot ceiling is spacing fixtures 4 to 5 feet apart, and keeping the first row 24 to 30 inches off the wall so the beam grazes cabinetry and artwork instead of pooling on the floor.
Before cutting, sketch a simple lighting installation diagram showing joist direction, duct runs, recessed can locations, switch legs, and any existing wiring you plan to reuse. Over a kitchen island, center the fixtures on the countertop rather than the room, because the counter is where your eyes go. For a 12 by 14 foot kitchen, six 4-inch wafers at around 800 lumens each usually lands in a comfortable range without creating a runway effect.
The Installation, Step by Step
YouTube makes this look easy, and in a single-fixture swap it genuinely can be. Still, the sequence matters, and each step below has a failure mode behind it.
- Kill the circuit at the panel and verify dead at the ceiling box with a non-contact tester plus a meter. Switched-off does not mean de-energized.
- Remove the old fixture. Support the old fixture with one hand while backing out the mounting screws so the weight never hangs on the conductors.
- Evaluate what is in the box. Check for a ground, look for brittle cloth insulation common in homes built before 1960, and confirm the box is secured to framing.
- Cut the opening with the manufacturer’s template. A 4-inch wafer typically needs a 4.13 inch hole, and an oversized cut means a visible gap.
- Land the conductors in the supplied junction box and clamp the cable. Black to black, white to white, bare copper to the ground screw.
- Tuck the box into the cavity, plug the quick-connect into the fixture, squeeze the spring clips, and press the trim flush.
- Set the CCT and lumen switches on the back of the fixture before you push it up, since reaching them afterward means pulling the light back down.
- Restore power and test on the dimmer through its full travel, listening for buzz at the low end.
When there is no box overhead at all, the job becomes a wiring project rather than a swap: a circuit has to be extended, fished, and in many cases supported with new framing. That is the point at which most homeowners hand it off.
Color Temperature and the Switches on the Back
Nearly every quality wafer sold in 2026 is selectable, with a small slider offering 2700K, 3000K, 3500K, 4000K and 5000K. Kitchens and baths generally read best at 3000K to 3500K, living rooms and bedrooms at 2700K, and garages or workshops at 4000K.
Two specs get overlooked. Color rendering index should be 90 or above if the light falls on food, skin, or paint colors you care about. And every fixture in one sightline must be set identically, because mismatched whites are obvious the moment the sun goes down. The U.S. Department of Energy’s guidance on LED lighting is a solid reference on efficiency and lifespan claims.
Dimmer Compatibility Is Where Projects Go Sideways
An LED wafer draws so little current that older incandescent dimmers cannot regulate it, which produces flicker, dropout at low settings, or an audible hum. Replace the dimmer with a model the fixture manufacturer lists as compatible, and check the compatibility chart rather than guessing from the box.
A few field notes from local homes:
- Keep total connected load above the dimmer’s minimum, often 10 to 25 watts. Two 10-watt lights on a 40-watt-minimum dimmer will misbehave.
- Three-way circuits need a matched master and companion pair from the same manufacturer.
- Smart dimmers generally need a neutral in the switch box, which many pre-1970 boxes lack.
Building and Electrical Code Considerations
Electrical installations must comply with the National Electrical Code (NEC), and all fixtures must be listed and labeled for their specific application. Wafers installed in insulated ceilings require an IC rating, bathroom and soffit locations need damp or wet ratings, and most new or extended lighting circuits in living spaces require AFCI protection at the breaker. The NFPA’s NEC resource page serves as the authoritative standard for these safety cycles.
Local building departments generally require permits for new circuits and major electrical alterations, with required inspections upon completion. While a straight fixture-for-fixture swap usually does not require a permit, adding multiple recessed lights on a new home run typically does. If you are scheduling a complete lighting installation in Allentown, check with local building officials to verify permit guidelines for your project.
Schedule Your Wafer Lighting Installation
If you want a layout drawn, dimmers matched, and the whole room cut and wired in a single visit, GB Electric handles recessed lighting across the area. Contact us today for a fixture count and a firm price on your ceiling.
